Table of Contents
Introduction
I usually don’t write tutorials on using stuff but since I started to learn Haskell I found it hard to find a simple tutorial on how get started on a simple project. So, to help others and to save the pain for future me, I decided to write this tutorial.
So what’s the stack?
Okay, so you decided to give into functional programming and tried to give Haskell a go but you see a lot of conflicting information on the tools for writing Haskell code. The compiler is supposed to be GHC so… do you install it? Well yes, but no. While GHC is the compiler but you need a build tool to manage your project and dependencies.
As Haskell is an old language used in production for a while now, applications need specific versions of packages, and the compiler itself. So, you need a tool to manage all of this for you.
But which one? You have Cabal1 and Stack2. This is indeed the part where you have to know your way around to work with the Haskell ecosystem. They both try to solve the same problem.
Cabal or more specifically Cabal-install is
the official build tool for Haskell. Both Cabal-install and Stack are frontends
to the Cabal library. Cabal-install looks at the dependencies specified in its
.cabal file and uses a dependency solver to figure out a set of packages and
package versions that satisfy it in the Hackage3 repository.
Stack however, is a bit newer and tries to solve some of the problems with
Cabal. It uses the resolver field in the stack.yaml file to specify a snapshot
of the Hackage repository. This snapshot is a set of packages and package
versions that are known to work together. This means that you don’t have to
worry about dependency conflicts.
I use Stack because it’s newer and I find it easier to work with yaml files
than cabal files.
Installing the tools
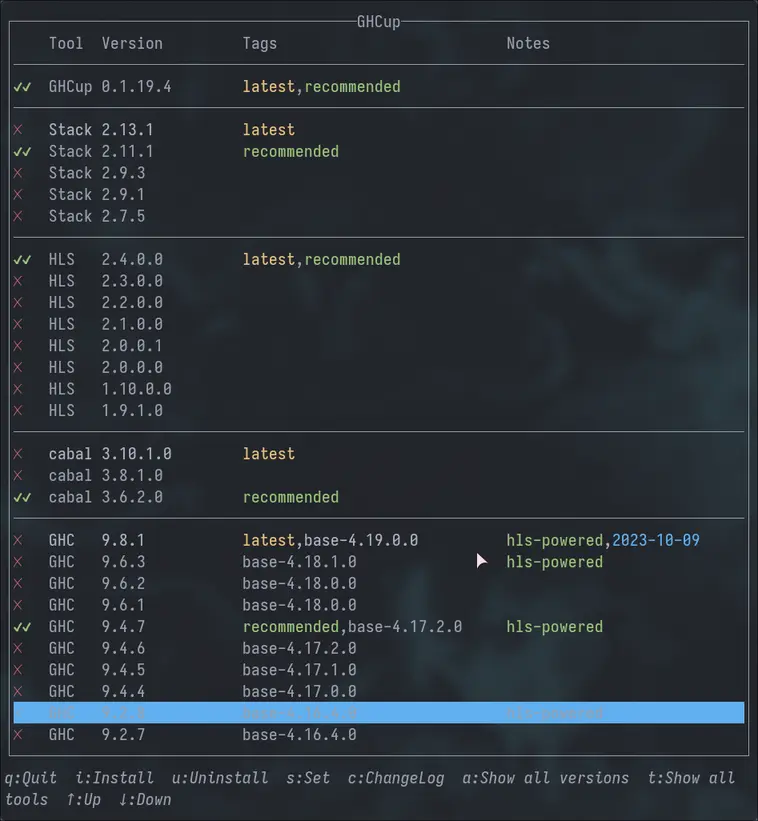
So, let’s get started, download the latest stack version and start coding. Wrong! You thought it’s going to be that easy? Well, get used to it being hard. We’ll use GHCup4 to get the the recommended versions (for reasons I’ll explain later).
For me being on artix btw, I had to install the following through the AUR:
yay -S ghcup-hs-binNow, install and set the recommened versions of GHC, Stack and HLS by firing up the TUI:
ghcup tui
Scaffold a project
Now that we have the tools installed, let’s scaffold a project. We’ll use the
stack new command to get a template project:
stack new helloworld new-templateTo explore further on the stack new command, look at the
documentation.
To not download GHC for every project you create you can make stack use the
global GHC version we installed using GHCup by setting system-ghc: true in
your ~/.stack/config.yaml (you may want to fill out some other fields there as
well) or run the following command:
stack config set system-ghc --global trueBuild and run
Now that we have a project, let’s build and run it:
stack build
stack runEditor Setup
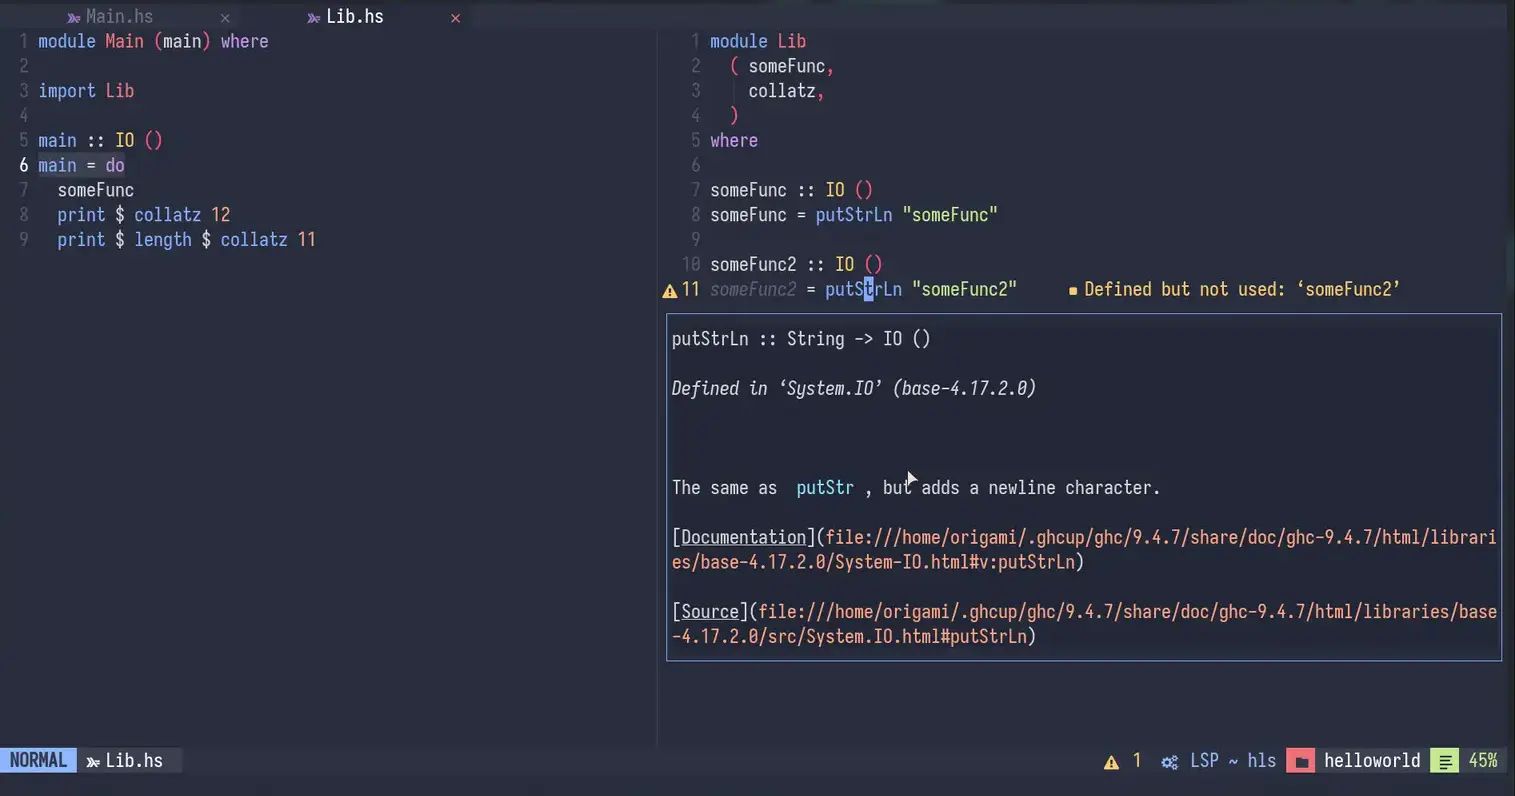
The Haskell Language Server5 (HLS) is a tool that provides the LSP server for IDE-like features in your editor. I use Neovim as my editor but I’ll show you how to set it up in VSCode as well.
Neovim
You may use your favourite plugin manager
(lazy.nvim) to set up the config through
nvim-lspocnfig and since we
installed HLS through GHCup we don’t need to install it through lsp tools like
Mason.nvim
local lspconfig = require "lspconfig"
lspconfig.hls.setup {
filetypes = { "haskell", "lhaskell", "cabal" },
on_attach = on_attach,
capabilities = capabilities,
settings = {
haskell = {
cabalFormattingProvider = "cabalfmt",
formattingProvider = "stylish-haskell",
},
},
}You can find the full config options on the HLS docs.
You should install cabal-fmt and stylish-haskell to get formatting support:
sudo pacman -S stylish-haskell cabal-fmtIt’s also good to note the haskell-tools plugin which provides some useful features like Hoogle search and more code actions stuff but happy with my lsp config for now.

VSCode
For VSCode you can use the
Haskell
extension which provides the LSP client for HLS. However, it was still a pain to
setup for me. I had to add this to my settings.json:
{
"haskell.serverExecutablePath": "/home/<user>/.ghcup/bin/haskell-language-server-wrapper",
"haskell.serverEnvironment": {
"PATH": "/home/<user>/.ghcup/bin:/usr/bin"
}
}And only then did the extension would stop installing hls on it’s own and use
the one I installed through GHCup. Formatting and linting work out of the box
without needing to install anything else.
Fixing Setup.hs error
If you open the Setup.hs file in your project now you’ll get the follow
diagnostic error:
Setup.hs|1-2 col 1 error| Multi Cradle:
No prefixes matched pwd: haskell/helloworld filepath: haskell/helloworld/Setup.hs
prefixes:
("./src",Stack {component = Just "helloworld:lib", stackYaml = Nothing})
("./app/Main.hs",Stack {component = Just "helloworld:exe:helloworld-exe", stackYaml = Nothing})
("./test",Stack {component = Just "helloworld:test:helloworld-test", stackYaml = Nothing})After a lot of searching I found the solution to this problem in
this issue on
the HLS repo. While it is still open, the workaround is quite simple and it’s to
add a hie.yaml file to the root of your project with the following content:
cradle:
multi:
- path: ./Setup.hs
config:
cradle:
none:
- path: ./
config:
cradle:
stack: # Change this to cabal if you use cabalYou should have now configured the Haskell Language Server to use the implicit
hie.yaml through stack and disable the LSP for the Setup.hs file.
Conclusion
That’s it! Now you can finall start writing some Haskell code and put your category theory knowledge to use (which I don’t have). I hope this tutorial was helpful.
You can now flex on those imperative programmers with your Haskell skills 😆.
References
-
Stack is a build tool that was created to solve some of the problems with Cabal. ↩
-
Hackage is the Haskell community’s central package archive of open source software. It’s the equivalent of NPM for Node.js or PyPI for Python. ↩
-
GHCup tool to install and manage multiple versions of GHC, Stack and HLS. ↩
-
Haskell Language Server docs. ↩